— Tatian Greenleaf
|
The Marin County Office of Education held its second annual maker day for schools to showcase their work in STEAM-related endeavors. We brought a wind tunnel built by David St. Martin and materials for visitors to create their own anemometers (wind meters) for testing in the wind tunnel. This same activity was created for our second graders during their weather unit. Our exhibit was busy the whole day as students from various schools including our own came and went and came back again to build and test their designs. Several Mark Day School students helped out by explaining the activity, operating the wind tunnel, and answering questions. — Tatian Greenleaf
0 Comments
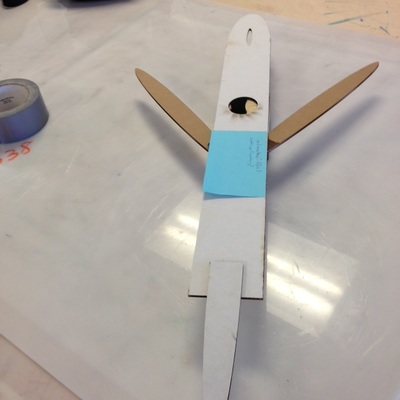
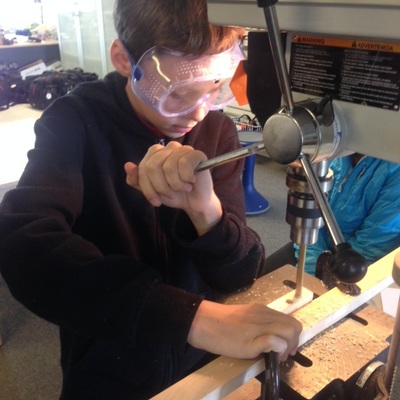
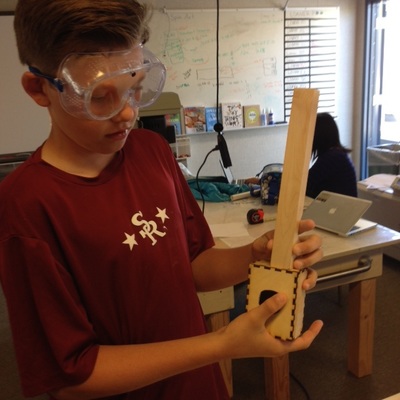
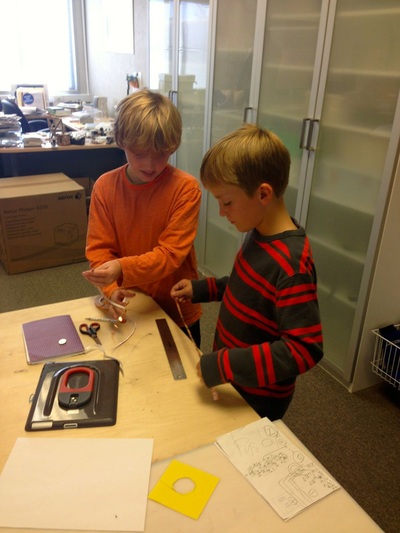
The 7th and 8th Grade Tinkering elective was a buzz of activity today, and everyone is making headway on their projects. The scroll saw, drill press and laser cutter were all going at different points as students finally took practical steps toward the creation of their instrument ideas!
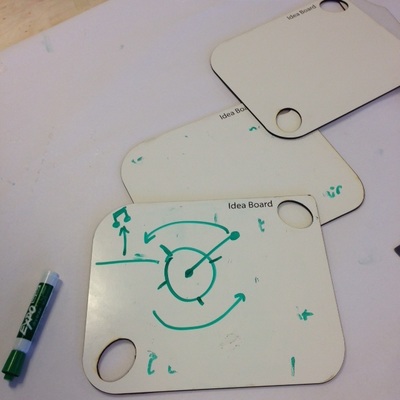
David For my students, dreaming up an idea is easy. Given the theme of musical instruments, it takes us only minutes to come up with a boatload of ideas to be excited about-a guitar shaped like fighter jet, a harmonica that flipps out of a case with the flick of the wrist…an old-time street organ..a mini conga drum!
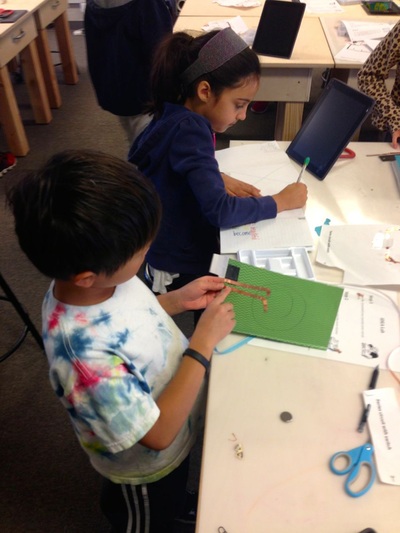
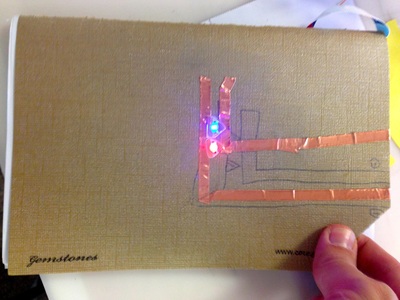
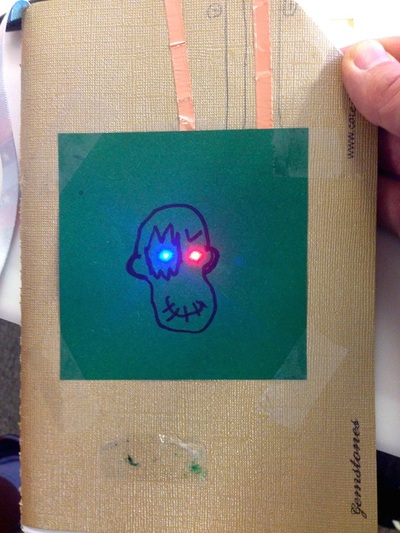
It takes a little bit more energy to put that idea to paper. To actually draw your dream means you have to actually think about the shape and lines in more concrete ways. You may start feeling a bit uncertain, or you might start noticing some conflicts between your dream and real-world design issues. Maybe you start worrying you don’t have the skills or the tools to do what you want to do. It takes a bit more encouragement from me to get my students to push past this hurdle and just get their ideas down in some physical form. It takes a lot more energy to actually attempt to make a physical model of your idea. Where do you start? What materials do you use? How does it actually work? What if you fail?! Saying you want to make a guitar that looks like a fighter jet is one thing, but actually making it is a much bigger thing. This is where I have to push my students over the hump. Sometimes this is just simple encouragement to try something. “Take this piece of wood and get started!” Other times it means checking in every 5 minutes “I want you to start by putting a hole in that box like you drew on the design,” then 5 minutes later, “ what’s next? You have the hole, now just try to attach your box. Tape and glue might be where you start.” “Remember, it is all about just making that first attempt.” A first attempt will almost never be perfect, especially if you are building something that really excites you. Some would call these first attempts failures, but it is hard to say that when you realize that those “failures” are what every real success is built on. Learning to just get started is a lesson in itself, and as the year progresses, I see more and more students just jumping in and trying things. I think we can count that as a success! The third grade completed a circuits unit by sketching their circuit plans on paper, then transferring those sketches to their hand-made journal covers, and finally using copper foil tape, coin cell batteries, and circuit stickers to build a working circuit. Here, Asa explains his finished cover: One of the tenets of the maker movement is the idea of rapid prototyping: being able to conceive of, design, fabricate, and test a product in a short amount of time. This is made possible with new technologies such as 3D printers and laser cutters.
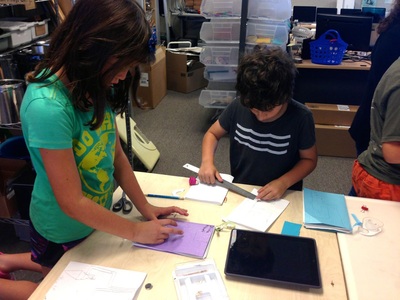
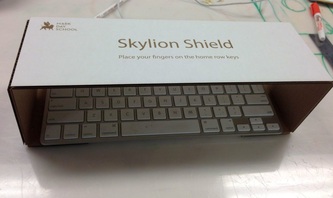
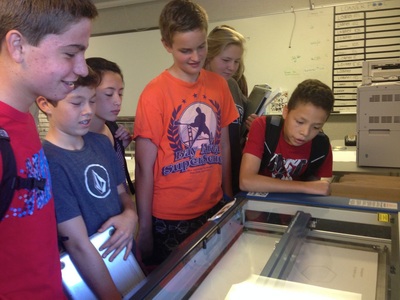
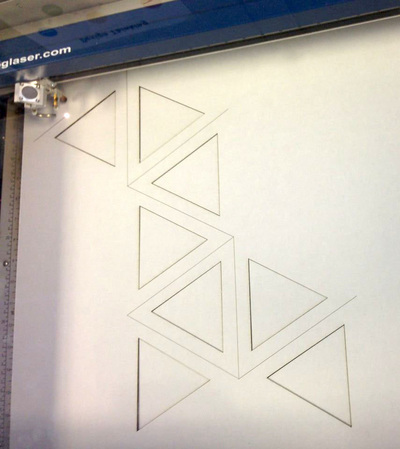
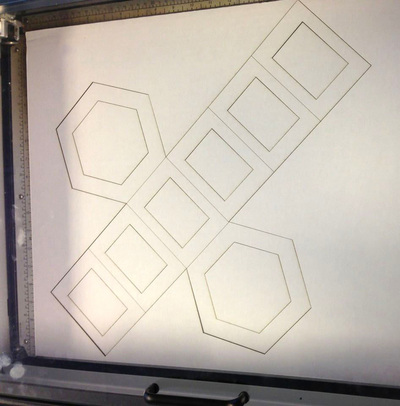
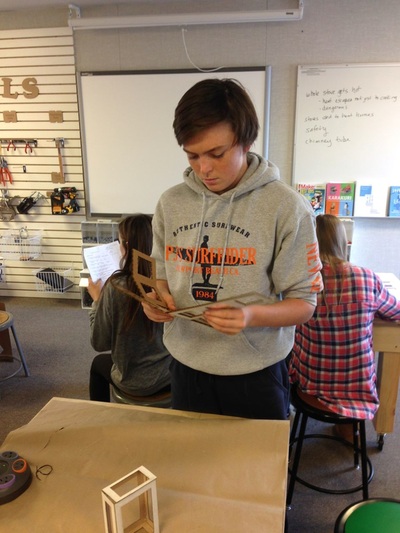
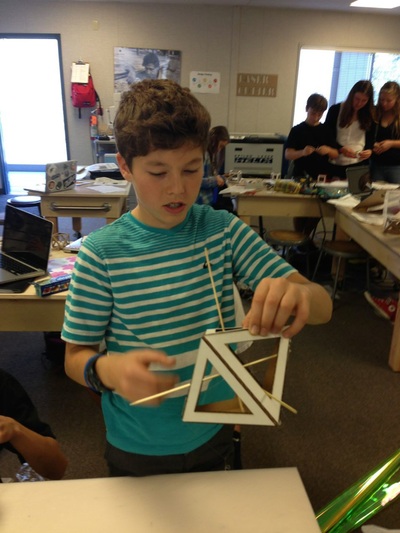
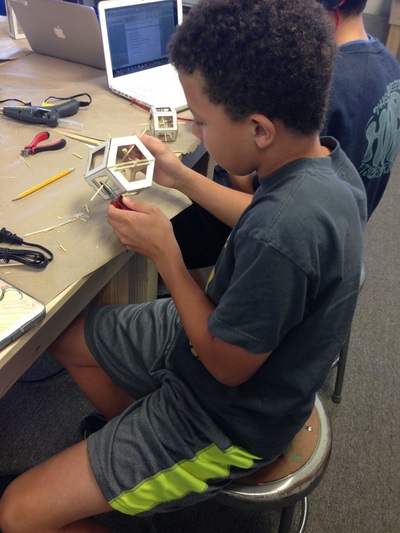
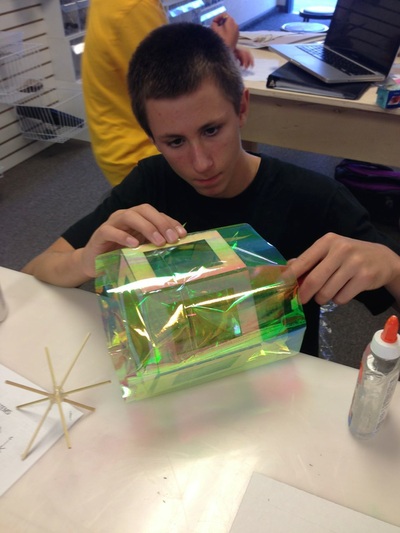
An example of rapid prototyping occurred after I taught a lesson on keyboarding and a student was finding it challenging to keep his fingers in the correct "home row" positions instead of "hunting and pecking" to find each key. When the teacher asked what I would suggest in that situation, I replied that a keyboard "shield" or cover helps students. A keyboard shield is a long piece of material (often cardboard or acrylic) that shields students' eyes from the keys but still allows them to press the keys. The idea is that it's next to impossible to "hunt and peck" without visual confirmation but that using the correct finger replacements doesn't require seeing the keys. Using a keyboard shield early on in keyboarding practice can allow a student to become comfortable and proficient at typing. In prior years, my options for providing keyboard shields were between several vendors who shipped expensive cardboard pieces that would easily break with regular use. Add to that the fact that our students learn to keyboard on iPads using smaller (width) keyboards than the keyboard shields are designed for and the fact that some manufacturers don't make products that easily fold for storage and the best solution becomes clear: create our own product in-house. I sketched plans for a keyboard shield and included my best guesses for dimensions: Ms. Bredt led students through a study of crystalline solids and had each student find out their own birthstone and the associated crystal structure. They downloaded designs that I created in Adobe Illustrator and learned to resize the designs to fit either a 12"x12" piece of chipboard or 24"x18" piece of cardboard. They then uploaded the modified designs to our Google Classroom so that they were ready to be laser-cut. To prep each design for the laser cutter, Ms. Nishihara and I "color-mapped" different colored lines to varying intensities (laser speed and power) on the laser cutter. A weak laser can engrave text or images onto materials, a slightly stronger laser can score lines for later folding, and a strong laser can cut all the way through materials (including wood, rubber, leather, fabric, acrylic, and paper). Students were fascinated watching the laser cut out their designs! Each design takes about a minute to complete on the laser cutter. Once the cutting has finished, students are able to fold their crystal structures and glue them together. Students can then add internal structures made out of wooden skewers that represent the "axes of symmetry" that show how the crystal forms, and wrap the crystals in colored cellophane in order to represent the crystal's true color.
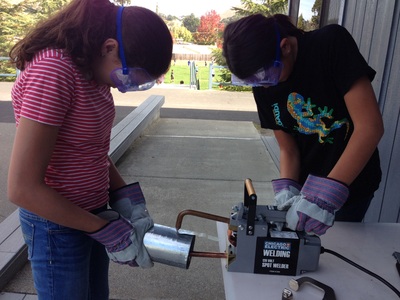
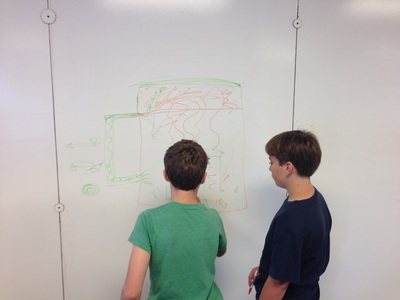
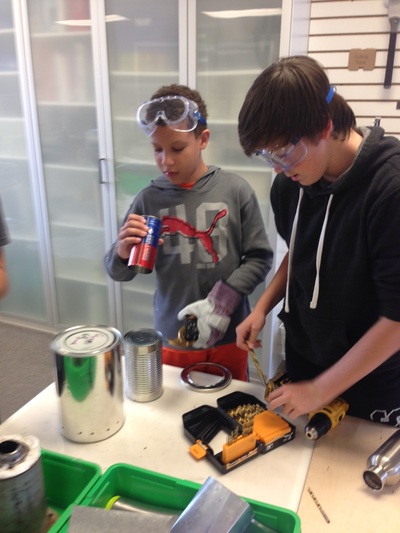
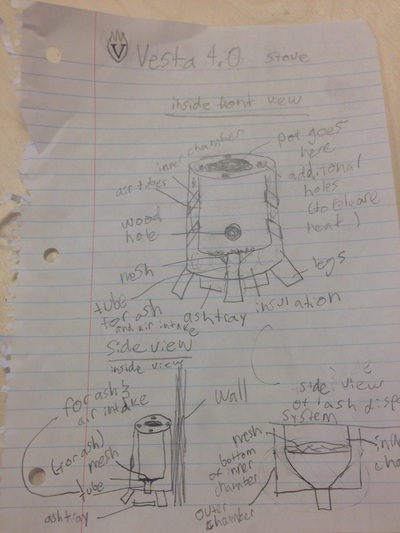
— Tatian Greenleaf Today we worked on our stoves. We thought through our ideas, some of them worked, some of them didn't, and we went back to our giant drawing board. We're trying to create a low-smoke wood burning stove-in-a-can that we can carry. It has to be cheap, and it has to be made of readily available materials. Our first prototypes smoked like crazy, but we're hopeful a few breakthroughs will come in this next round of construction! There are schools of engineering that take on this design challenge, but as long as we're not afraid to fail and learn from our efforts, we'll see some breakthroughs!
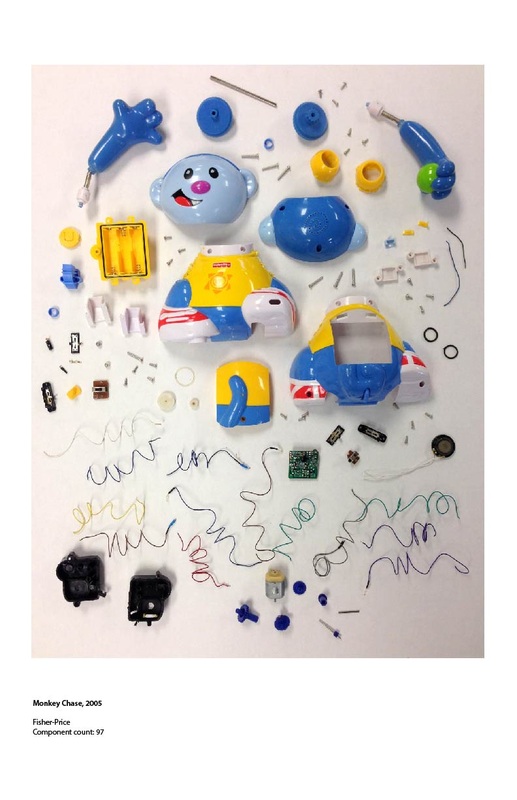
--David St. Martin I bought a few used toys at a garage sale recently in the hopes of designing a Toy Take Apart lesson for students. As with most projects, I first test out the process to find any areas where students might have difficulty or might find something interesting to delve into.
The "Monkey Chase" toy I bought seemed to be the perfect candidate for a Todd McLellan style photo, which I created by taking apart the toy as much as possible, arranging the parts on a white background and then taking a photo and labeling the number of pieces (97). I'm now thinking that instead of just having students take apart toys, it could be educational and creative for them to take them apart, discuss what the various parts are and how they function, and then create a similar photo. There's also the possibility of re-using toy parts (for example, the arms at the top of my photo) to create new toys or robotic figures using programmable microprocessors. Many attendees were jealous to hear we live within an easy drive of Stanford's Center for Educational Research, the venue for the FabLearn Conference. Making and digital fabrication is truly a world-wide movement in education, and the conference attracted people from a bewildering number of states and more than a few countries! No matter how close or how far we had to travel to attend, we were all there to share our experiences in, and best practices for fostering learning through making.
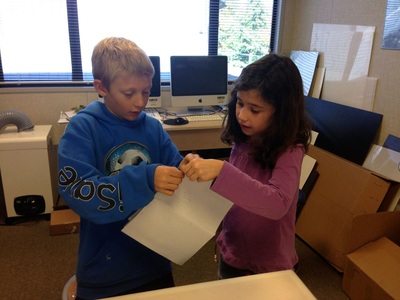
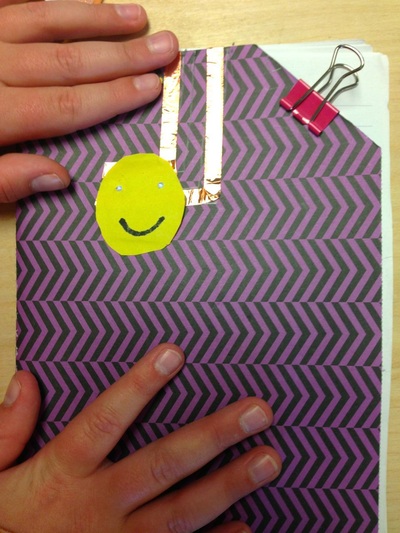
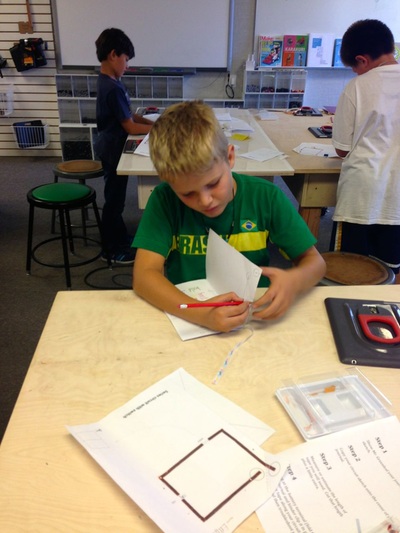
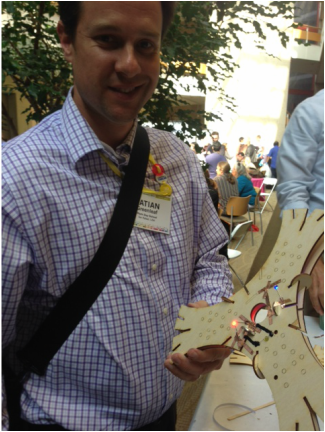
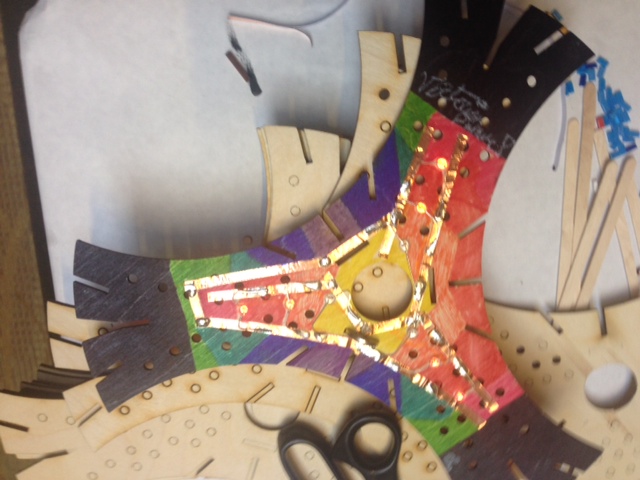
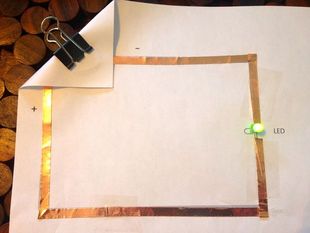
Between workshops on the latest online tools, or presentations on research papers, we had some time to tinker with some projects. In the picture below Mr. Greenleaf holds his contribution to a lighted sculpture made of unique circuits invented each crafter. Projects like this infuse a light and fun energy into the process of understanding circuits! --David St. Martin Today, I introduced the concept of an electric circuit and led students through an activity where they built a paper circuit using copper foil tape, coin cell batteries, and LEDs. I covered most of the concepts found in this YouTube video. Students used their iPads to scan a QR code they had added to their journals in order to visit this blog. In the IDEA Lab tab at the top of this blog, there is a link to the Paper Circuits Instructable I created for students to follow if they had difficulty with any of the steps I demonstrated. After completing these practice paper circuits, students will have the opportunity to add a paper circuit to their journal covers in order to make them light up when a switch is pressed.
— Tatian Greenleaf |
AuthorsTatian Greenleaf is the Design, Tinkering and Technology Intergrator at Mark Day School. |

 RSS Feed
