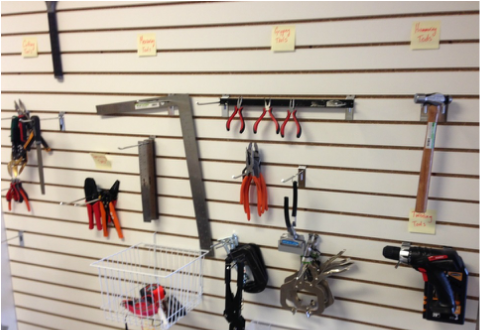
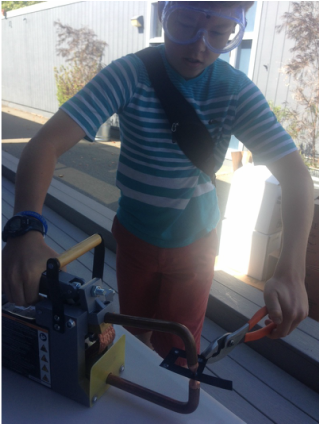
We have a room full of tools. We've spent the last weeks learning to use them. We have an exciting challenge to create a portable, efficient and nearly smokeless wood burning stove and we have learned some lessons from our early rough prototypes, so we think we know what we're doing! All that knowledge isn't worth much unless we can plan out our next steps and prepare to make more refined prototypes though!
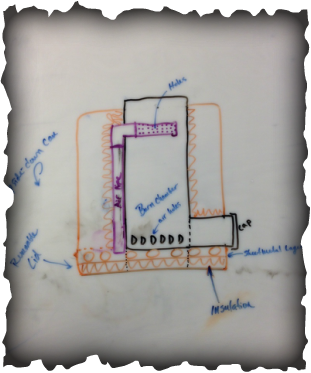
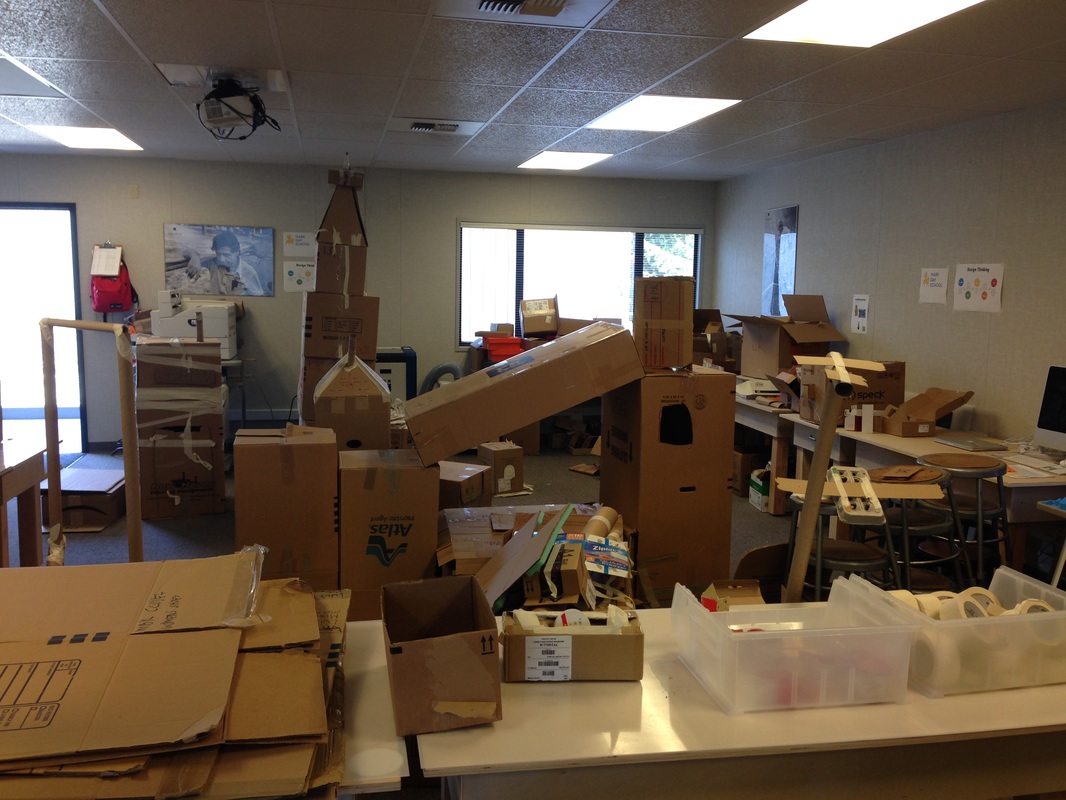
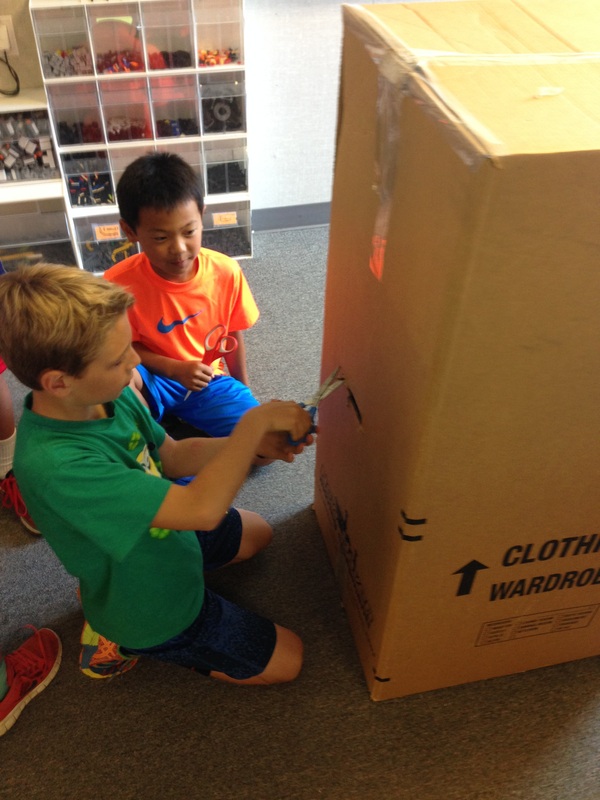
Today we broke up in to groups and drew our design ideas on our workbenches, then translated those into cardboard. We have some work to do as you can see, but I always draw my ideas too, so the students can see the level of refinement and detail they'll need to add to their designs. Next week each student will get a 1.5 gallon plain paint can as the starting place for their design. We'll have 10 class periods to take that paint can from raw metal can to efficient working stove. Wish us luck! --David St. Martin
Today we broke up in to groups and drew our design ideas on our workbenches, then translated those into cardboard. We have some work to do as you can see, but I always draw my ideas too, so the students can see the level of refinement and detail they'll need to add to their designs. Next week each student will get a 1.5 gallon plain paint can as the starting place for their design. We'll have 10 class periods to take that paint can from raw metal can to efficient working stove. Wish us luck! --David St. Martin


 RSS Feed
