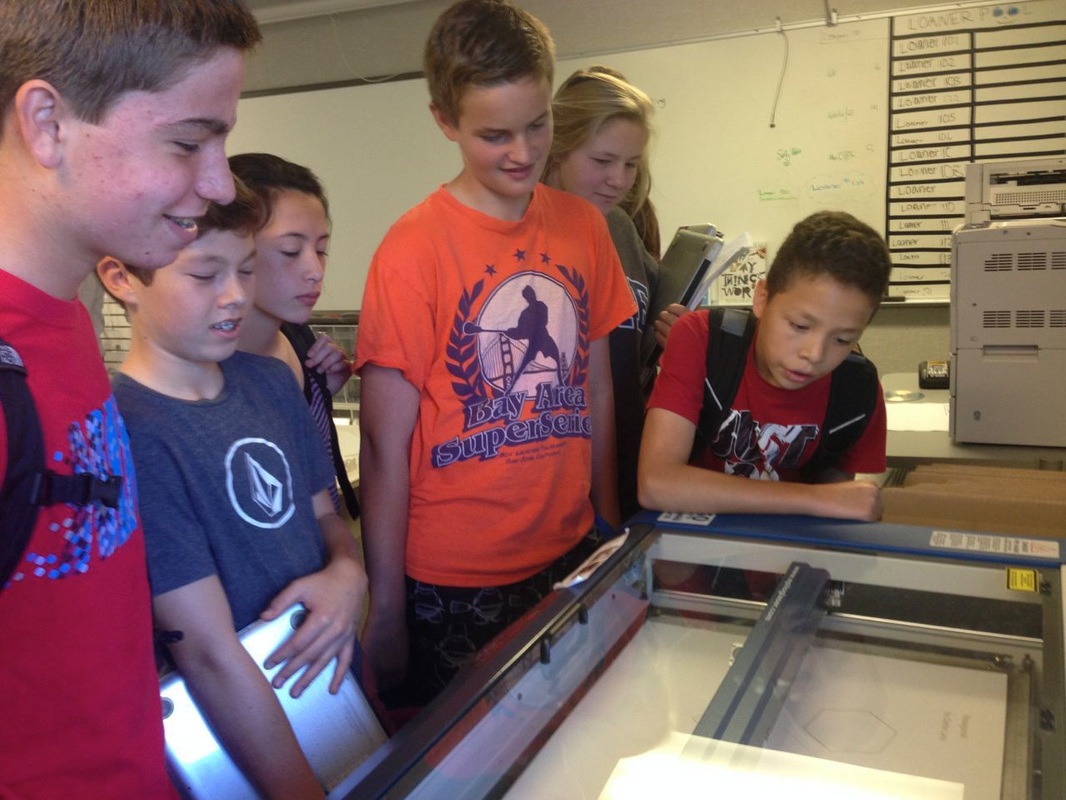
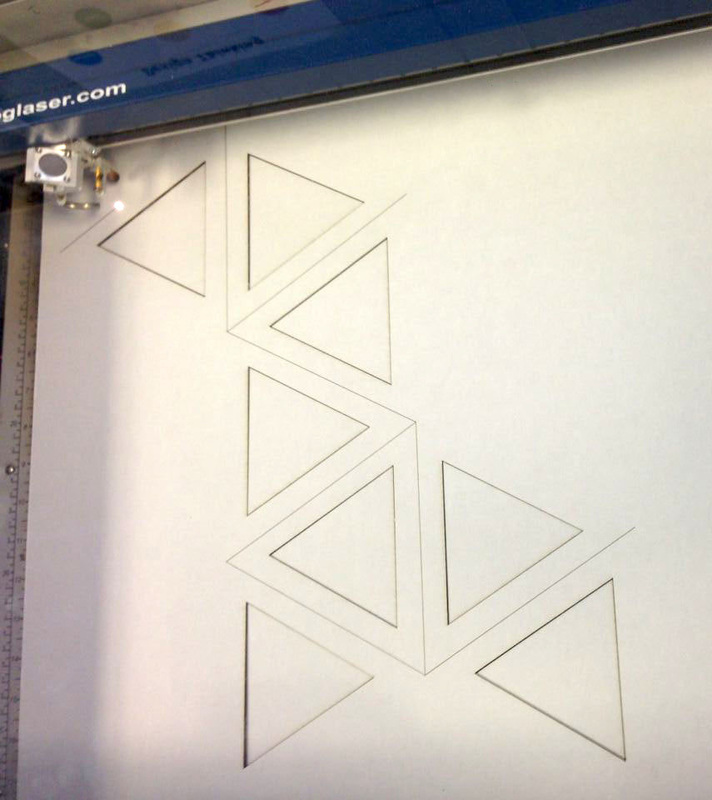
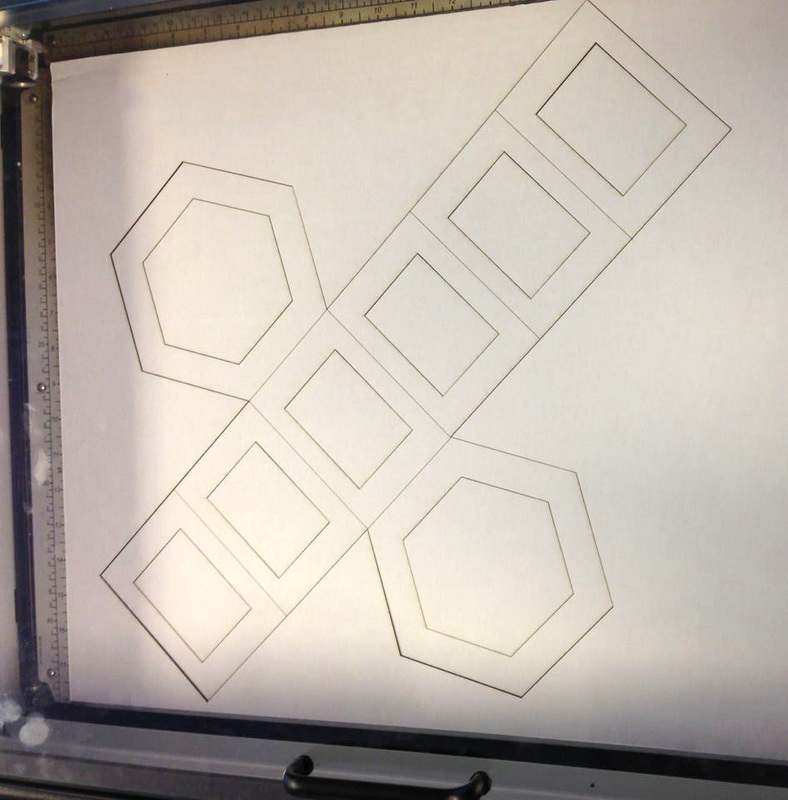
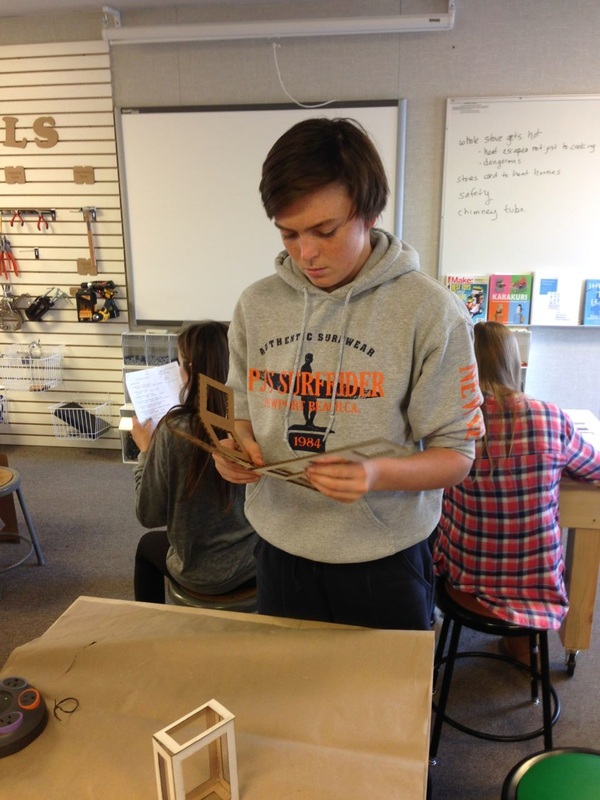
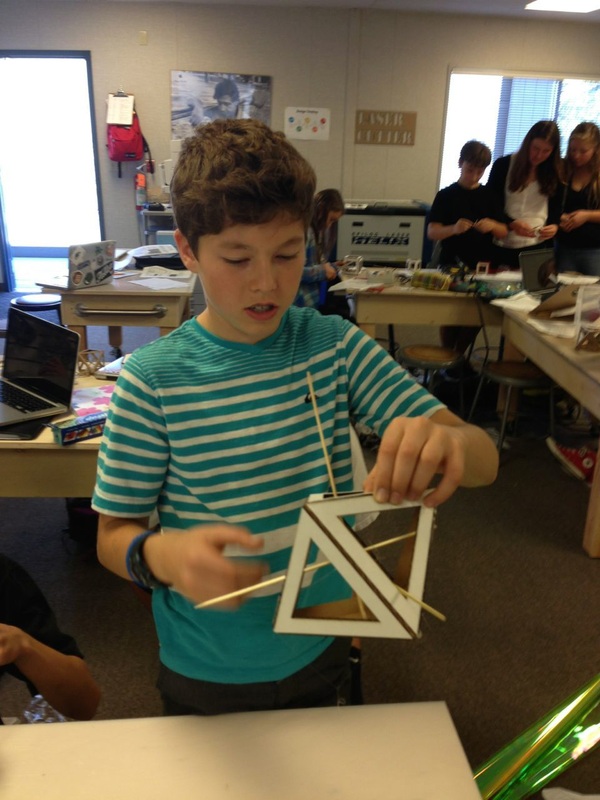
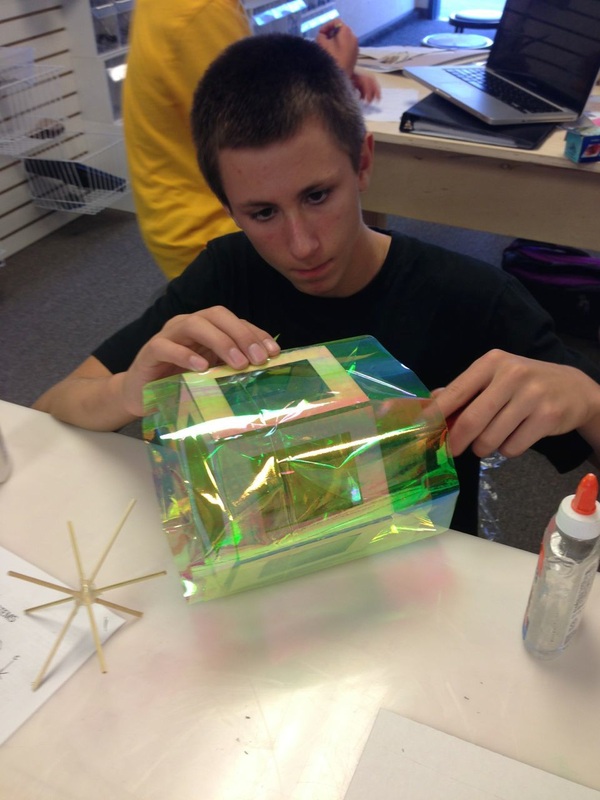
Ms. Bredt led students through a study of crystalline solids and had each student find out their own birthstone and the associated crystal structure. They downloaded designs that I created in Adobe Illustrator and learned to resize the designs to fit either a 12"x12" piece of chipboard or 24"x18" piece of cardboard. They then uploaded the modified designs to our Google Classroom so that they were ready to be laser-cut. To prep each design for the laser cutter, Ms. Nishihara and I "color-mapped" different colored lines to varying intensities (laser speed and power) on the laser cutter. A weak laser can engrave text or images onto materials, a slightly stronger laser can score lines for later folding, and a strong laser can cut all the way through materials (including wood, rubber, leather, fabric, acrylic, and paper). Students were fascinated watching the laser cut out their designs! Each design takes about a minute to complete on the laser cutter. Once the cutting has finished, students are able to fold their crystal structures and glue them together. Students can then add internal structures made out of wooden skewers that represent the "axes of symmetry" that show how the crystal forms, and wrap the crystals in colored cellophane in order to represent the crystal's true color.
— Tatian Greenleaf
— Tatian Greenleaf


 RSS Feed
