|
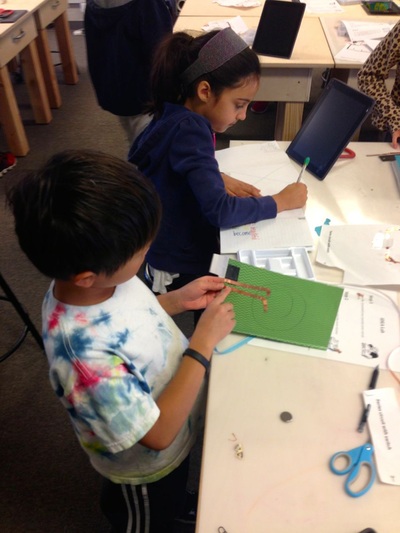
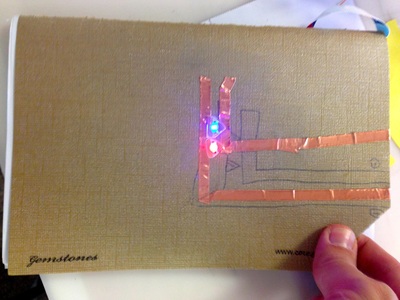
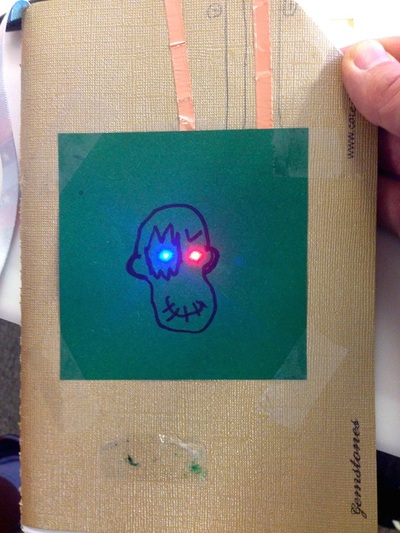
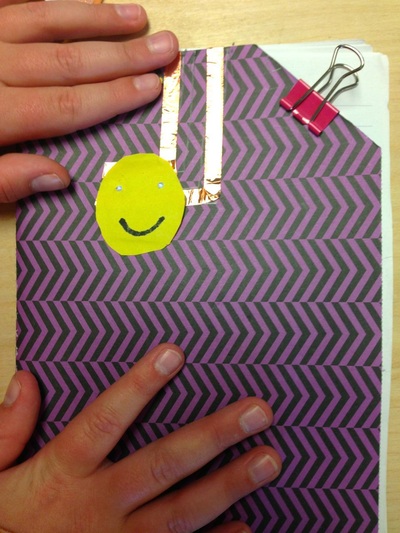
The third grade completed a circuits unit by sketching their circuit plans on paper, then transferring those sketches to their hand-made journal covers, and finally using copper foil tape, coin cell batteries, and circuit stickers to build a working circuit. Here, Asa explains his finished cover:
0 Comments
One of the tenets of the maker movement is the idea of rapid prototyping: being able to conceive of, design, fabricate, and test a product in a short amount of time. This is made possible with new technologies such as 3D printers and laser cutters.
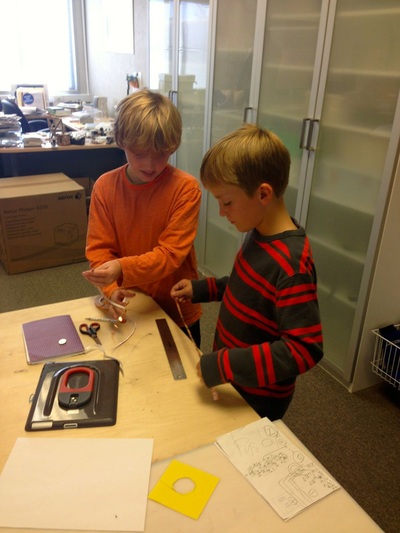
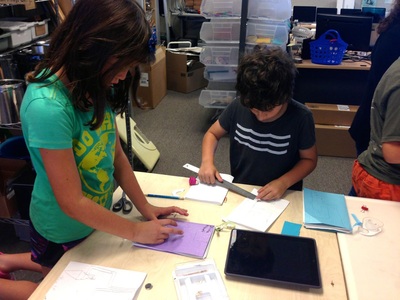
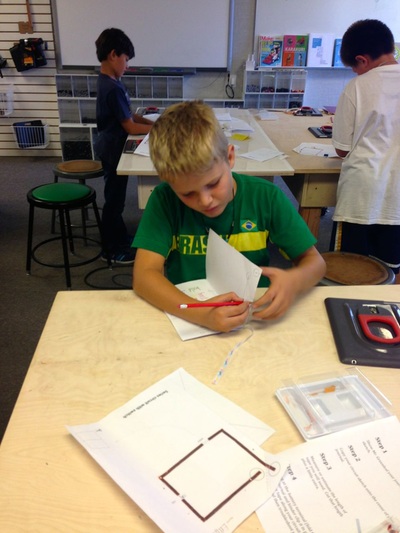
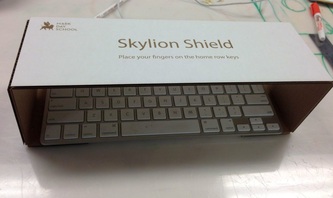
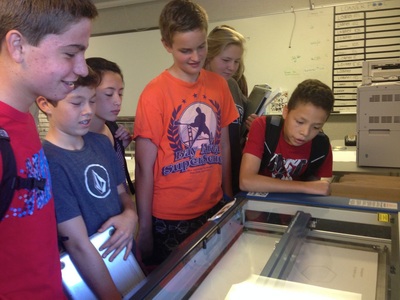
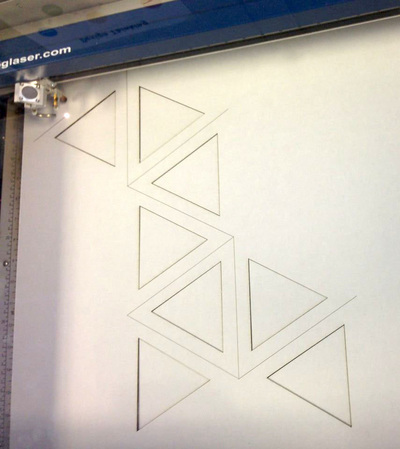
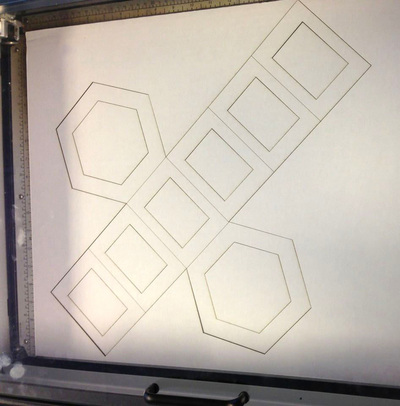
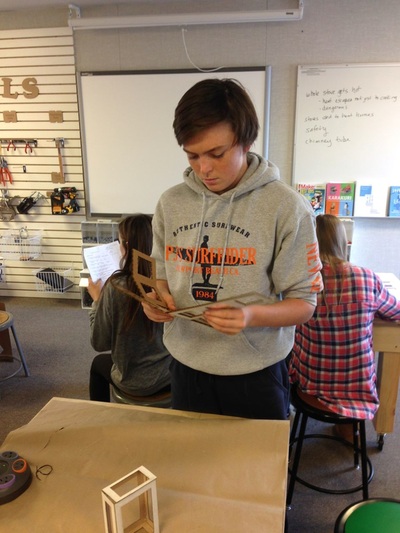
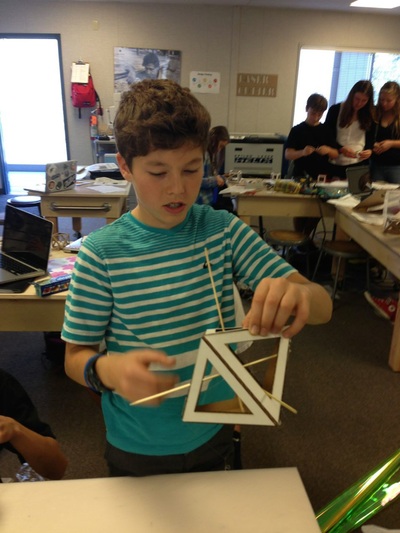
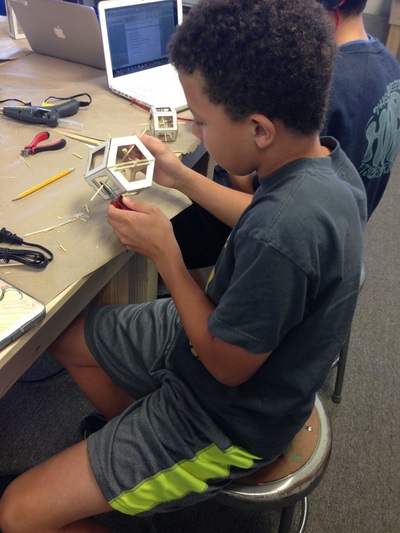
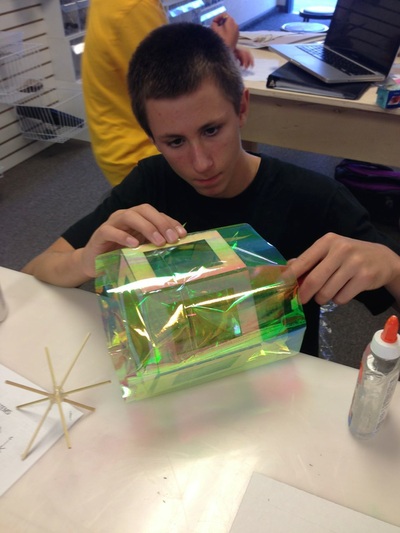
An example of rapid prototyping occurred after I taught a lesson on keyboarding and a student was finding it challenging to keep his fingers in the correct "home row" positions instead of "hunting and pecking" to find each key. When the teacher asked what I would suggest in that situation, I replied that a keyboard "shield" or cover helps students. A keyboard shield is a long piece of material (often cardboard or acrylic) that shields students' eyes from the keys but still allows them to press the keys. The idea is that it's next to impossible to "hunt and peck" without visual confirmation but that using the correct finger replacements doesn't require seeing the keys. Using a keyboard shield early on in keyboarding practice can allow a student to become comfortable and proficient at typing. In prior years, my options for providing keyboard shields were between several vendors who shipped expensive cardboard pieces that would easily break with regular use. Add to that the fact that our students learn to keyboard on iPads using smaller (width) keyboards than the keyboard shields are designed for and the fact that some manufacturers don't make products that easily fold for storage and the best solution becomes clear: create our own product in-house. I sketched plans for a keyboard shield and included my best guesses for dimensions: Ms. Bredt led students through a study of crystalline solids and had each student find out their own birthstone and the associated crystal structure. They downloaded designs that I created in Adobe Illustrator and learned to resize the designs to fit either a 12"x12" piece of chipboard or 24"x18" piece of cardboard. They then uploaded the modified designs to our Google Classroom so that they were ready to be laser-cut. To prep each design for the laser cutter, Ms. Nishihara and I "color-mapped" different colored lines to varying intensities (laser speed and power) on the laser cutter. A weak laser can engrave text or images onto materials, a slightly stronger laser can score lines for later folding, and a strong laser can cut all the way through materials (including wood, rubber, leather, fabric, acrylic, and paper). Students were fascinated watching the laser cut out their designs! Each design takes about a minute to complete on the laser cutter. Once the cutting has finished, students are able to fold their crystal structures and glue them together. Students can then add internal structures made out of wooden skewers that represent the "axes of symmetry" that show how the crystal forms, and wrap the crystals in colored cellophane in order to represent the crystal's true color.
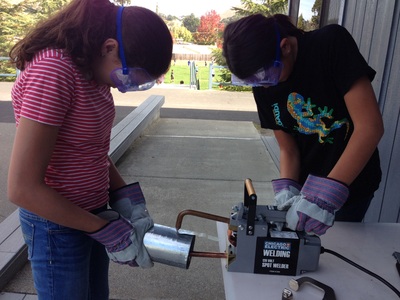
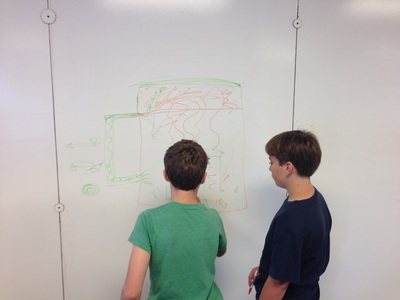
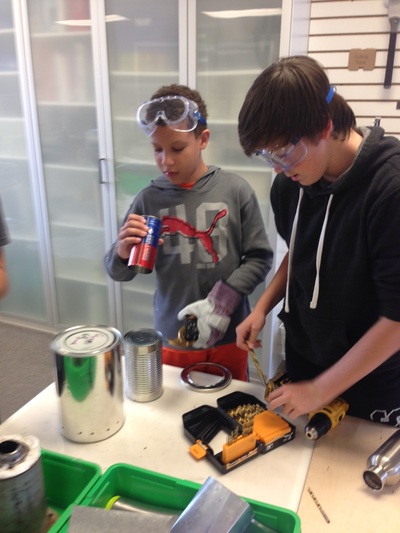
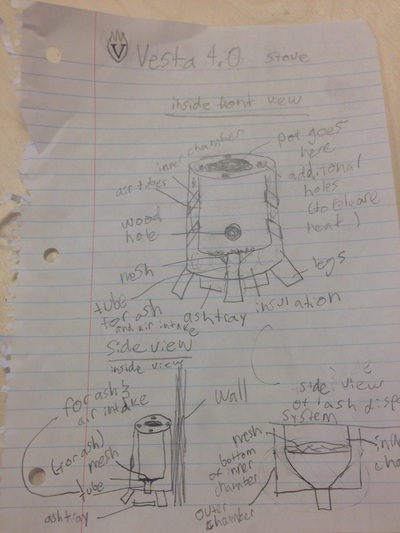
— Tatian Greenleaf Today we worked on our stoves. We thought through our ideas, some of them worked, some of them didn't, and we went back to our giant drawing board. We're trying to create a low-smoke wood burning stove-in-a-can that we can carry. It has to be cheap, and it has to be made of readily available materials. Our first prototypes smoked like crazy, but we're hopeful a few breakthroughs will come in this next round of construction! There are schools of engineering that take on this design challenge, but as long as we're not afraid to fail and learn from our efforts, we'll see some breakthroughs!
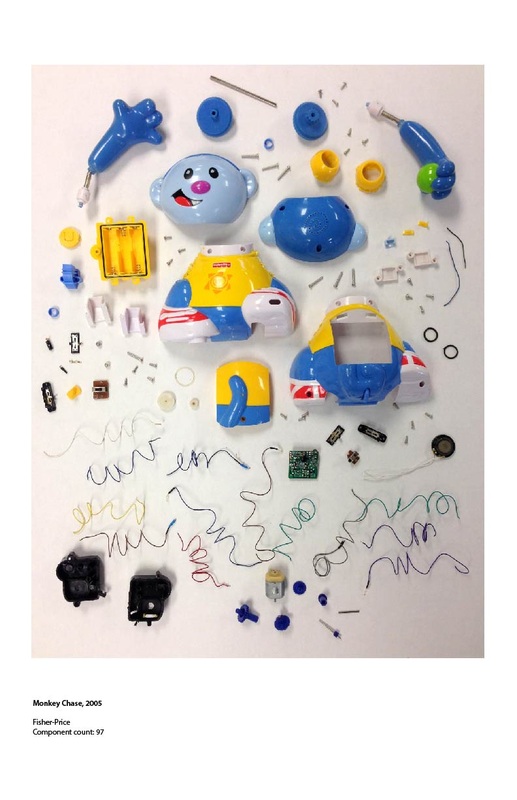
--David St. Martin I bought a few used toys at a garage sale recently in the hopes of designing a Toy Take Apart lesson for students. As with most projects, I first test out the process to find any areas where students might have difficulty or might find something interesting to delve into.
The "Monkey Chase" toy I bought seemed to be the perfect candidate for a Todd McLellan style photo, which I created by taking apart the toy as much as possible, arranging the parts on a white background and then taking a photo and labeling the number of pieces (97). I'm now thinking that instead of just having students take apart toys, it could be educational and creative for them to take them apart, discuss what the various parts are and how they function, and then create a similar photo. There's also the possibility of re-using toy parts (for example, the arms at the top of my photo) to create new toys or robotic figures using programmable microprocessors. |
AuthorsTatian Greenleaf is the Design, Tinkering and Technology Intergrator at Mark Day School. |

 RSS Feed
